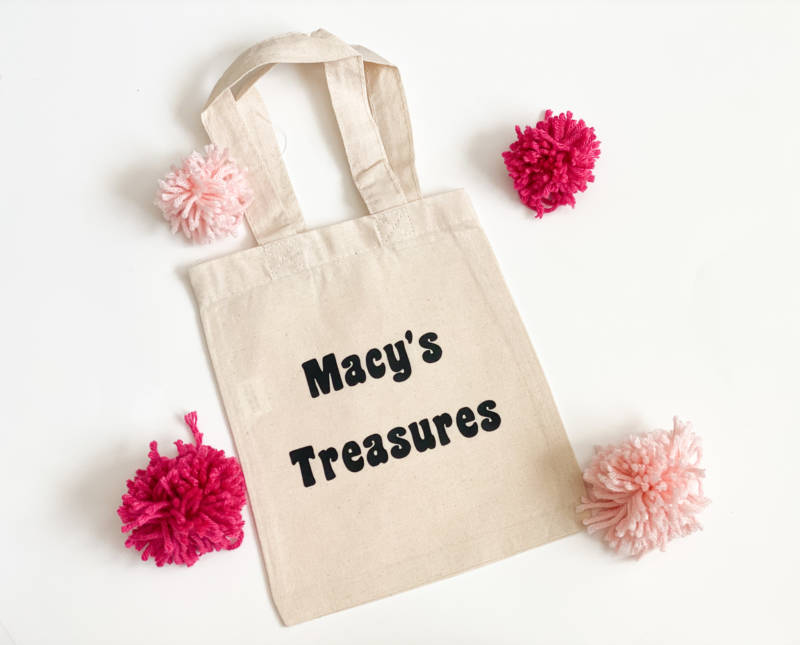
This weekend my best mom friend invited the girls and I to go up to their cabin in Utah with her and her boys for the weekend to escape the heat! She put me in charge of putting together some activities to do with the kids, she knows me so well! I was so excited to get out of Las Vegas and into the mountains where the kids could explore and get dirty without having to worry about sun poisoning! To encourage the idea of the kids being outside, I decided to make them these little tote bags to collect all of the things they found on their adventures. Anyone else’s kid love collecting rocks? This is for them! There’s something extra special about a personalized gift and I love that Cricut has made personalizing everything so accessible. (not sponsored at all. I just really love Cricut!)
I have always been hesitant to share Cricut crafts I do because I know that not everyone has one. However, when I put a poll up on Instagram asking if I should share more Cricut projects to my surprise, every single one of you voted YES! So without further a do here is a detailed tutorial on how to make these cute little personalized treasure tote bags.
As you know by now I love teaming up with friends to bring you ideas that inspire you and this project is no exception. After reading this post make sure to head over to their linked pages for more personalized gift ideas!
Supplies you’ll need:
- Cricut air explore 2 (or any of their cutting machines. This is just the machine I use) https://amzn.to/3eKalv9
- Cricut heat press https://amzn.to/2BQ6huB
- Heat transfer vinyl https://amzn.to/2NPpIa1
- Mini canvas tote bag (you can find these at your local craft store)
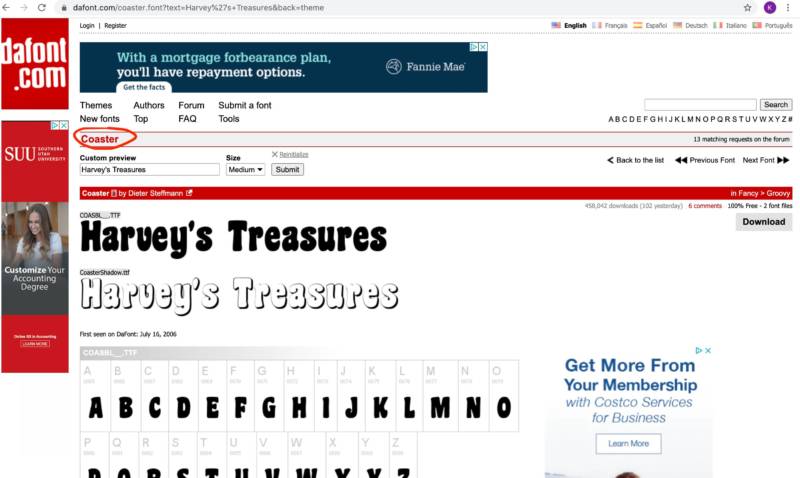
First, I found a font I liked on dafont.com and downloaded that onto my computer. I was going for a groovy vibe and used the font “coaster”. I love that you can write the text you are using to see exactly how it will look! If you don’t know how to do that here is a YouTube video I found that taught me how! https://www.youtube.com/watch?v=n-EHTGSE7vg&t=201s
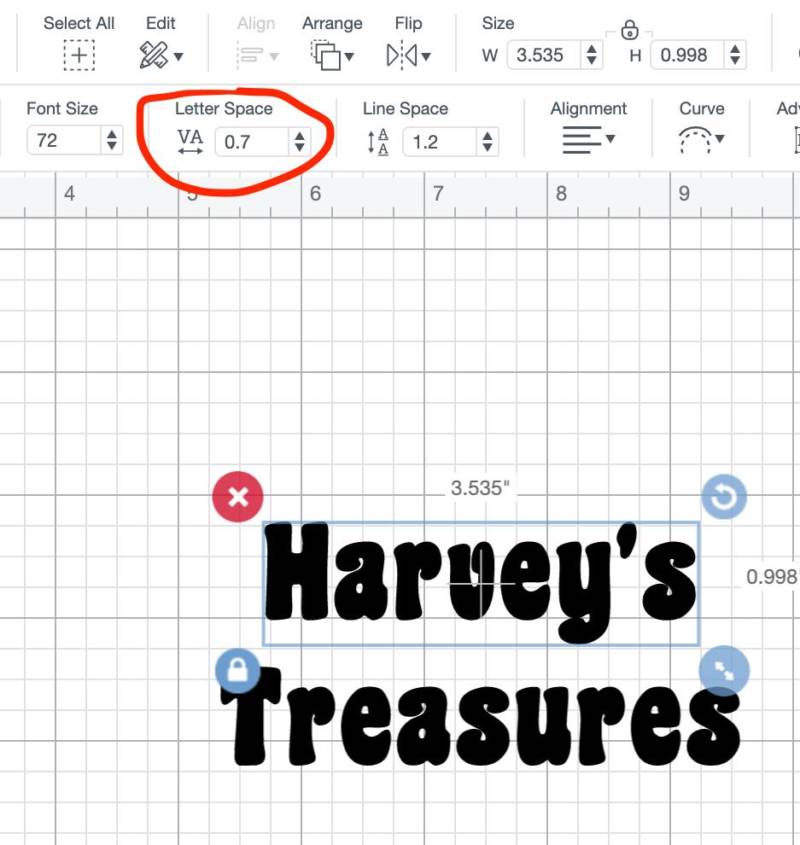
Once I downloaded the font onto my computer I typed out “Harvey’s” and then “treasures” and adjusted the letter space so the letters weren’t so spaced out. Then I placed them one on top of the other with the amount of spacing in between the two words.
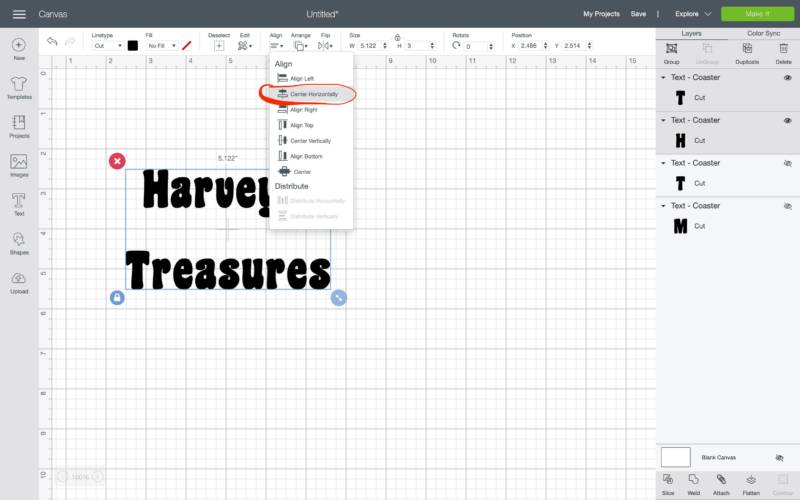
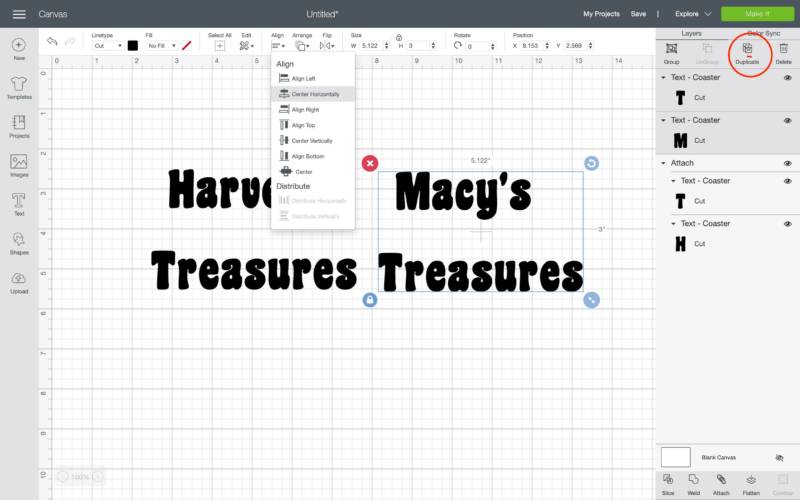
Then I made sure to center the two words horizontally by selecting both words and using the align feature.
Since I was making two of these bags I selected both words and duplicated them and just edited “Harvey” to say “Macy” and made sure that was aligned as well.
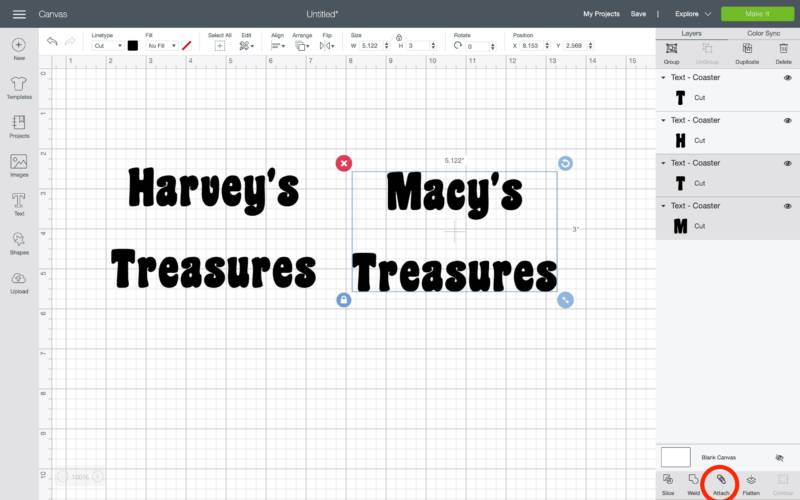
Once you are happy with how it looks you will need to select each set and attach them that way it cuts it just like you see it rather than cutting each letter out of order. (it will automatically do this if you don’t attach it to save the most room on your mat)
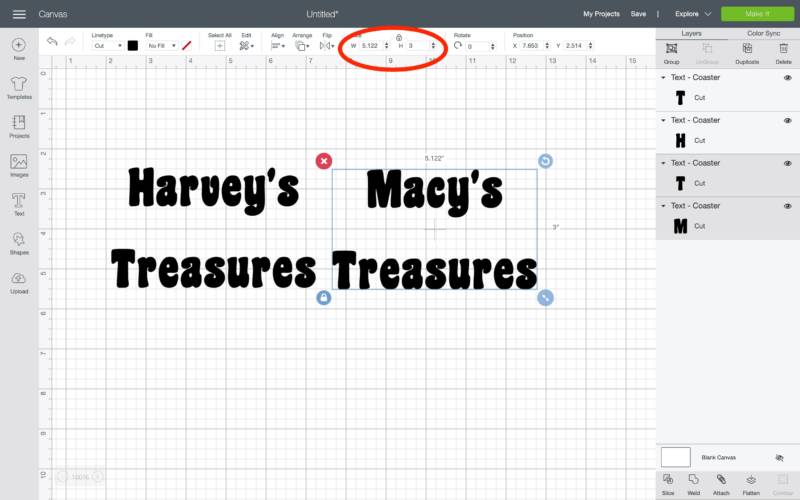
Be sure you measure your bag so you know how big you want it to be. After measuring my tote I decided 3 inches in height was perfect and it automatically adjusted the width to match.
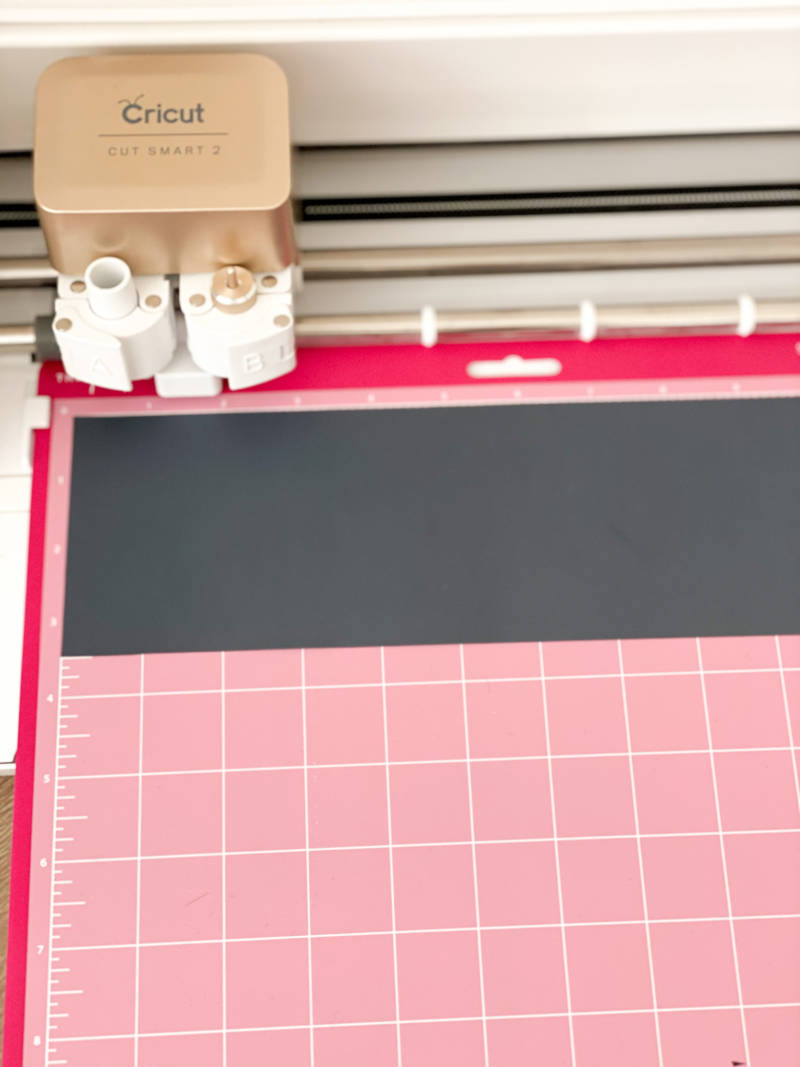
When you are ready to make it make sure you hit the edit button below the preview of the mat and tun on “mirror” so that it cuts backwards.
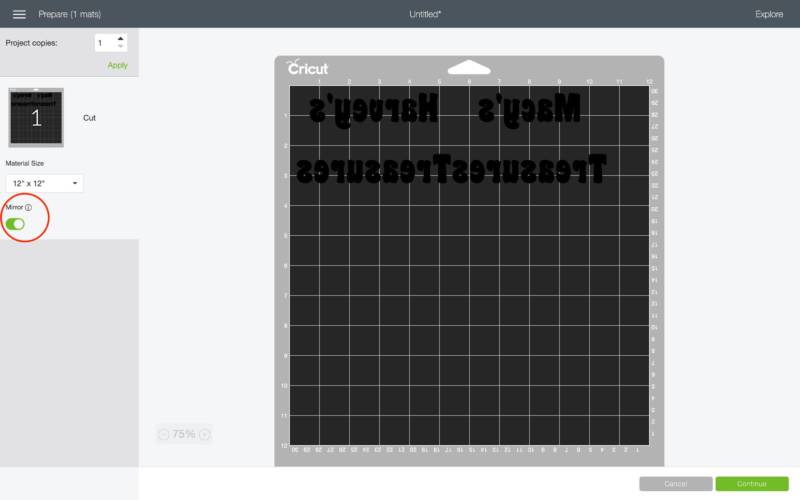
Then place the vinyl shiny side down on the mat(standard), load & cut
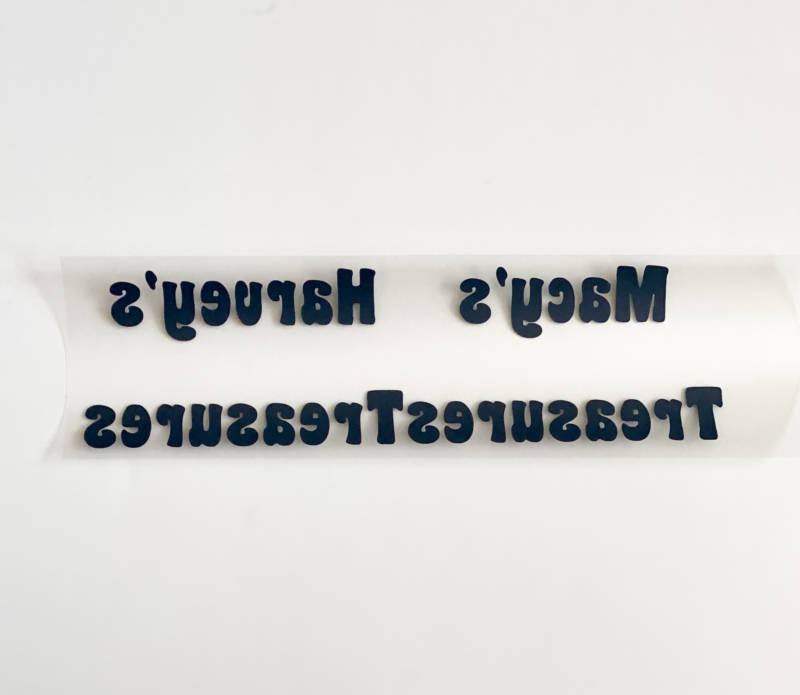
Once it is finished cutting, weed your vinyl ( I love HTV because in my opinion it is so much easier to weed than permanent vinyl!) and cut the two apart if you are doing more than one design. This is a good time to warm up your heat press.
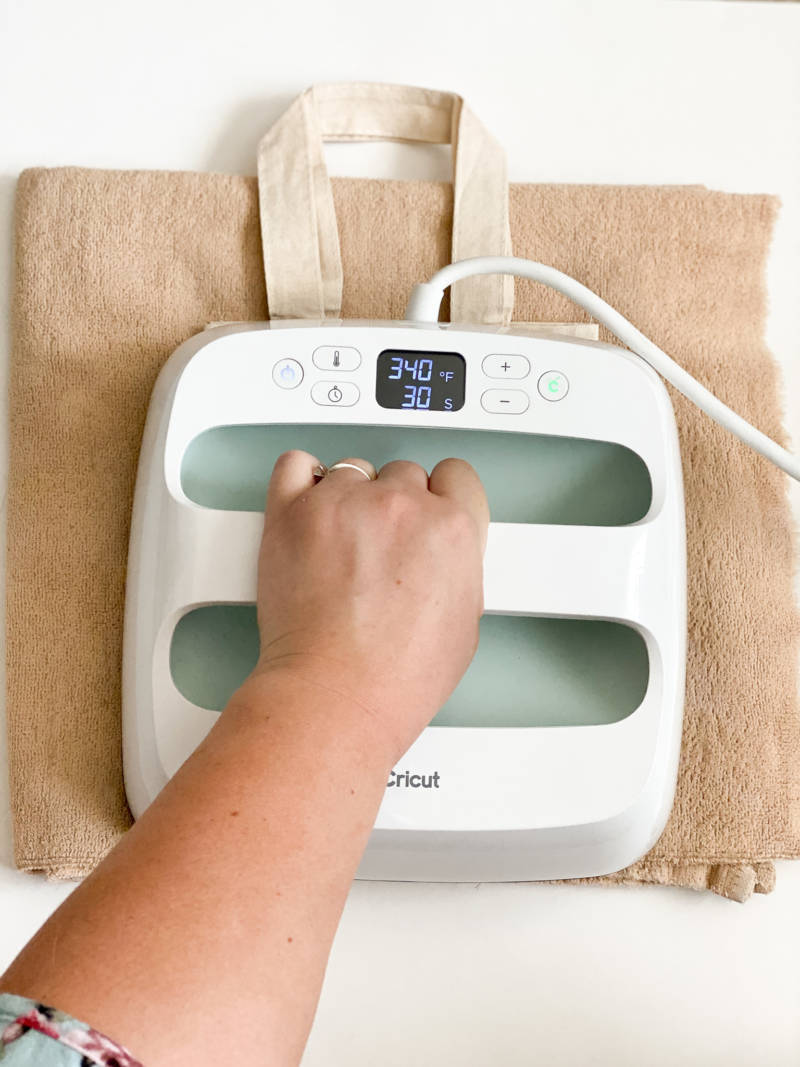
Check the heat guide for what heat setting you should use based off the material you are working with. Once your heat press is ready place your bag on a heat press mat or fluffy towel (i use a towel) and press the bag before adding the vinyl to get any moisture out of your tote.
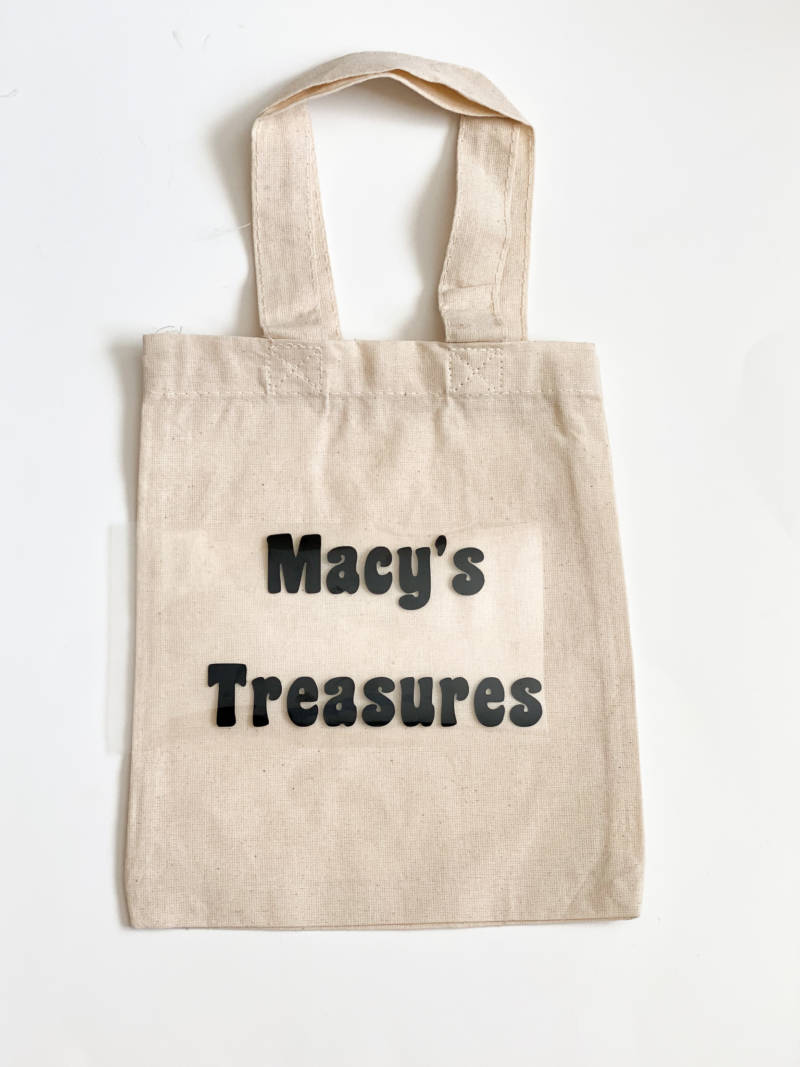
Then place the vinyl where you’d like it and press it for however long the guide tells you to! I always press the back as well for half the time. Once it is completely cooled, carefully remove the protective sheet off.
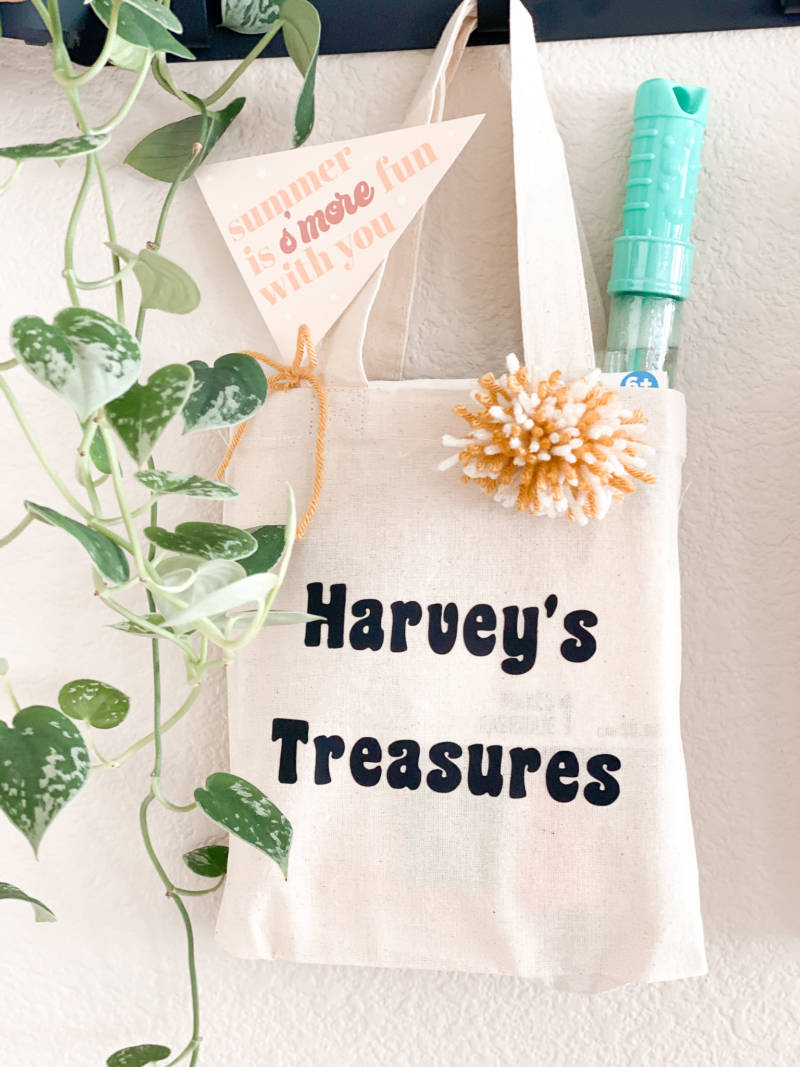
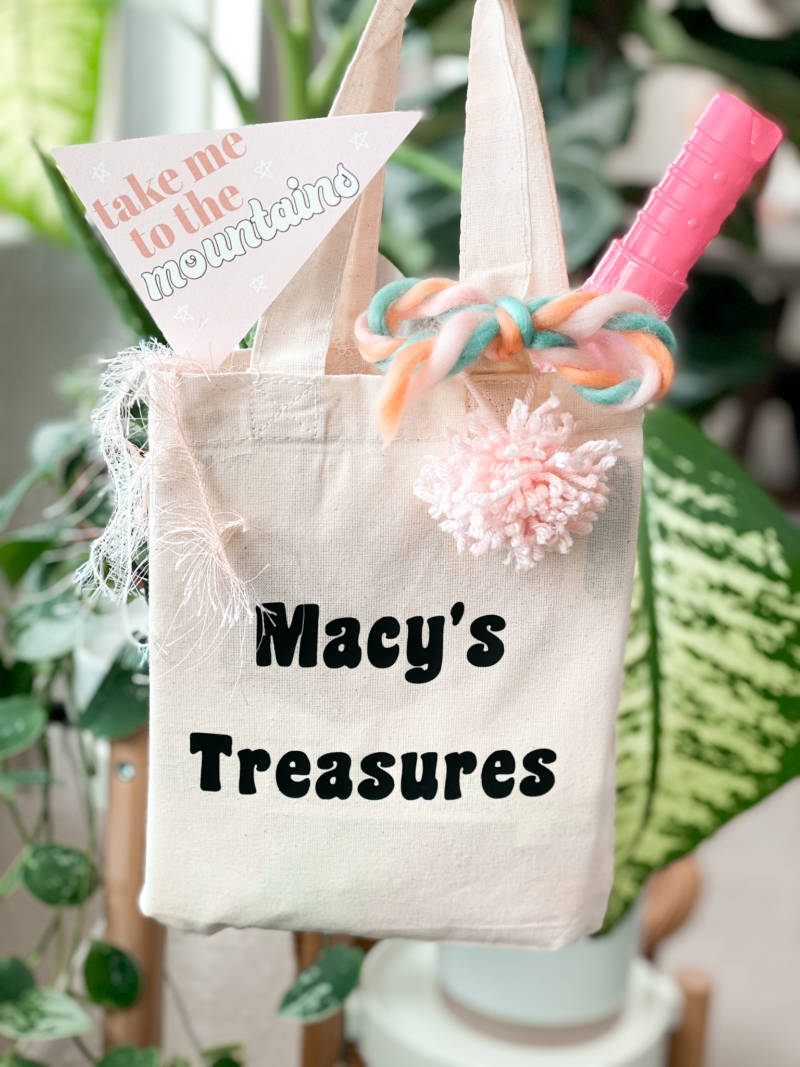
After the bag was done I always like to jazz it up to make it extra special! I added some pom poms I made at Christmas time and am still reusing, added a chunky ribbon bow. For Harvey I made a more gender neutral pom so it wasn’t so “girly.”
I filled the bags with activities I found at Michael’s that encouraged being outside!
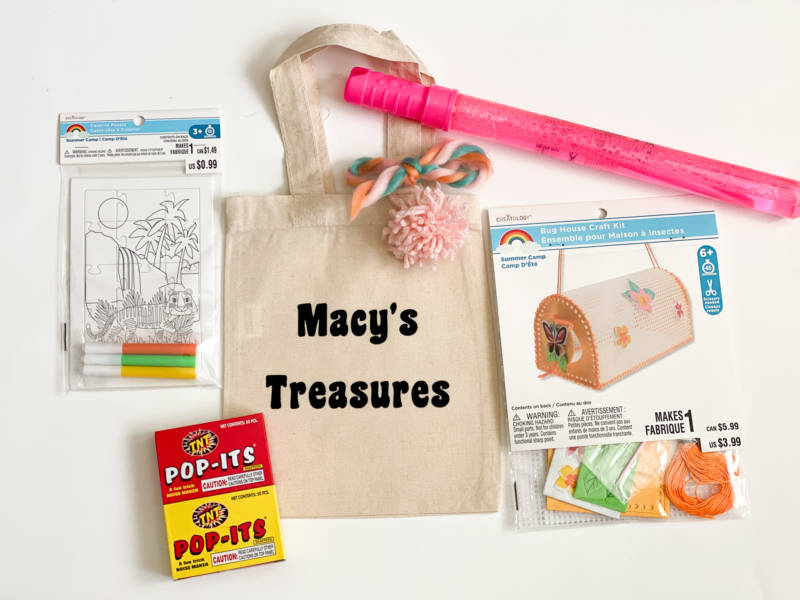
And there you have it! A super simple, custom bag! These also make a great alternative for gift bags. They are always a hit at birthday parties!
Now head over to my friend’s pages and check out some other super fun personalized gift ideas!
https://www.instagram.com/mamallama.llama/
https://www.kaysdailyinsight.com/
https://www.instagram.com/kaysdailyinsight/
https://www.instagram.com/bria.snyder/
XO,
Katleyn
These tote bags would be so good for so many things! For some reason I want to have a girls trip just to fill the totes with something fun!